Setup Guide
A simple walkthrough for server owners and new moderators.
Quick Start
1
Invite the bot
Use the official invite link and select your server. Open invite page
2
Grant permissions
Honeypot needs Ban Members to work properly. Manage Channels is so it can create the honeypot channel on join.
3
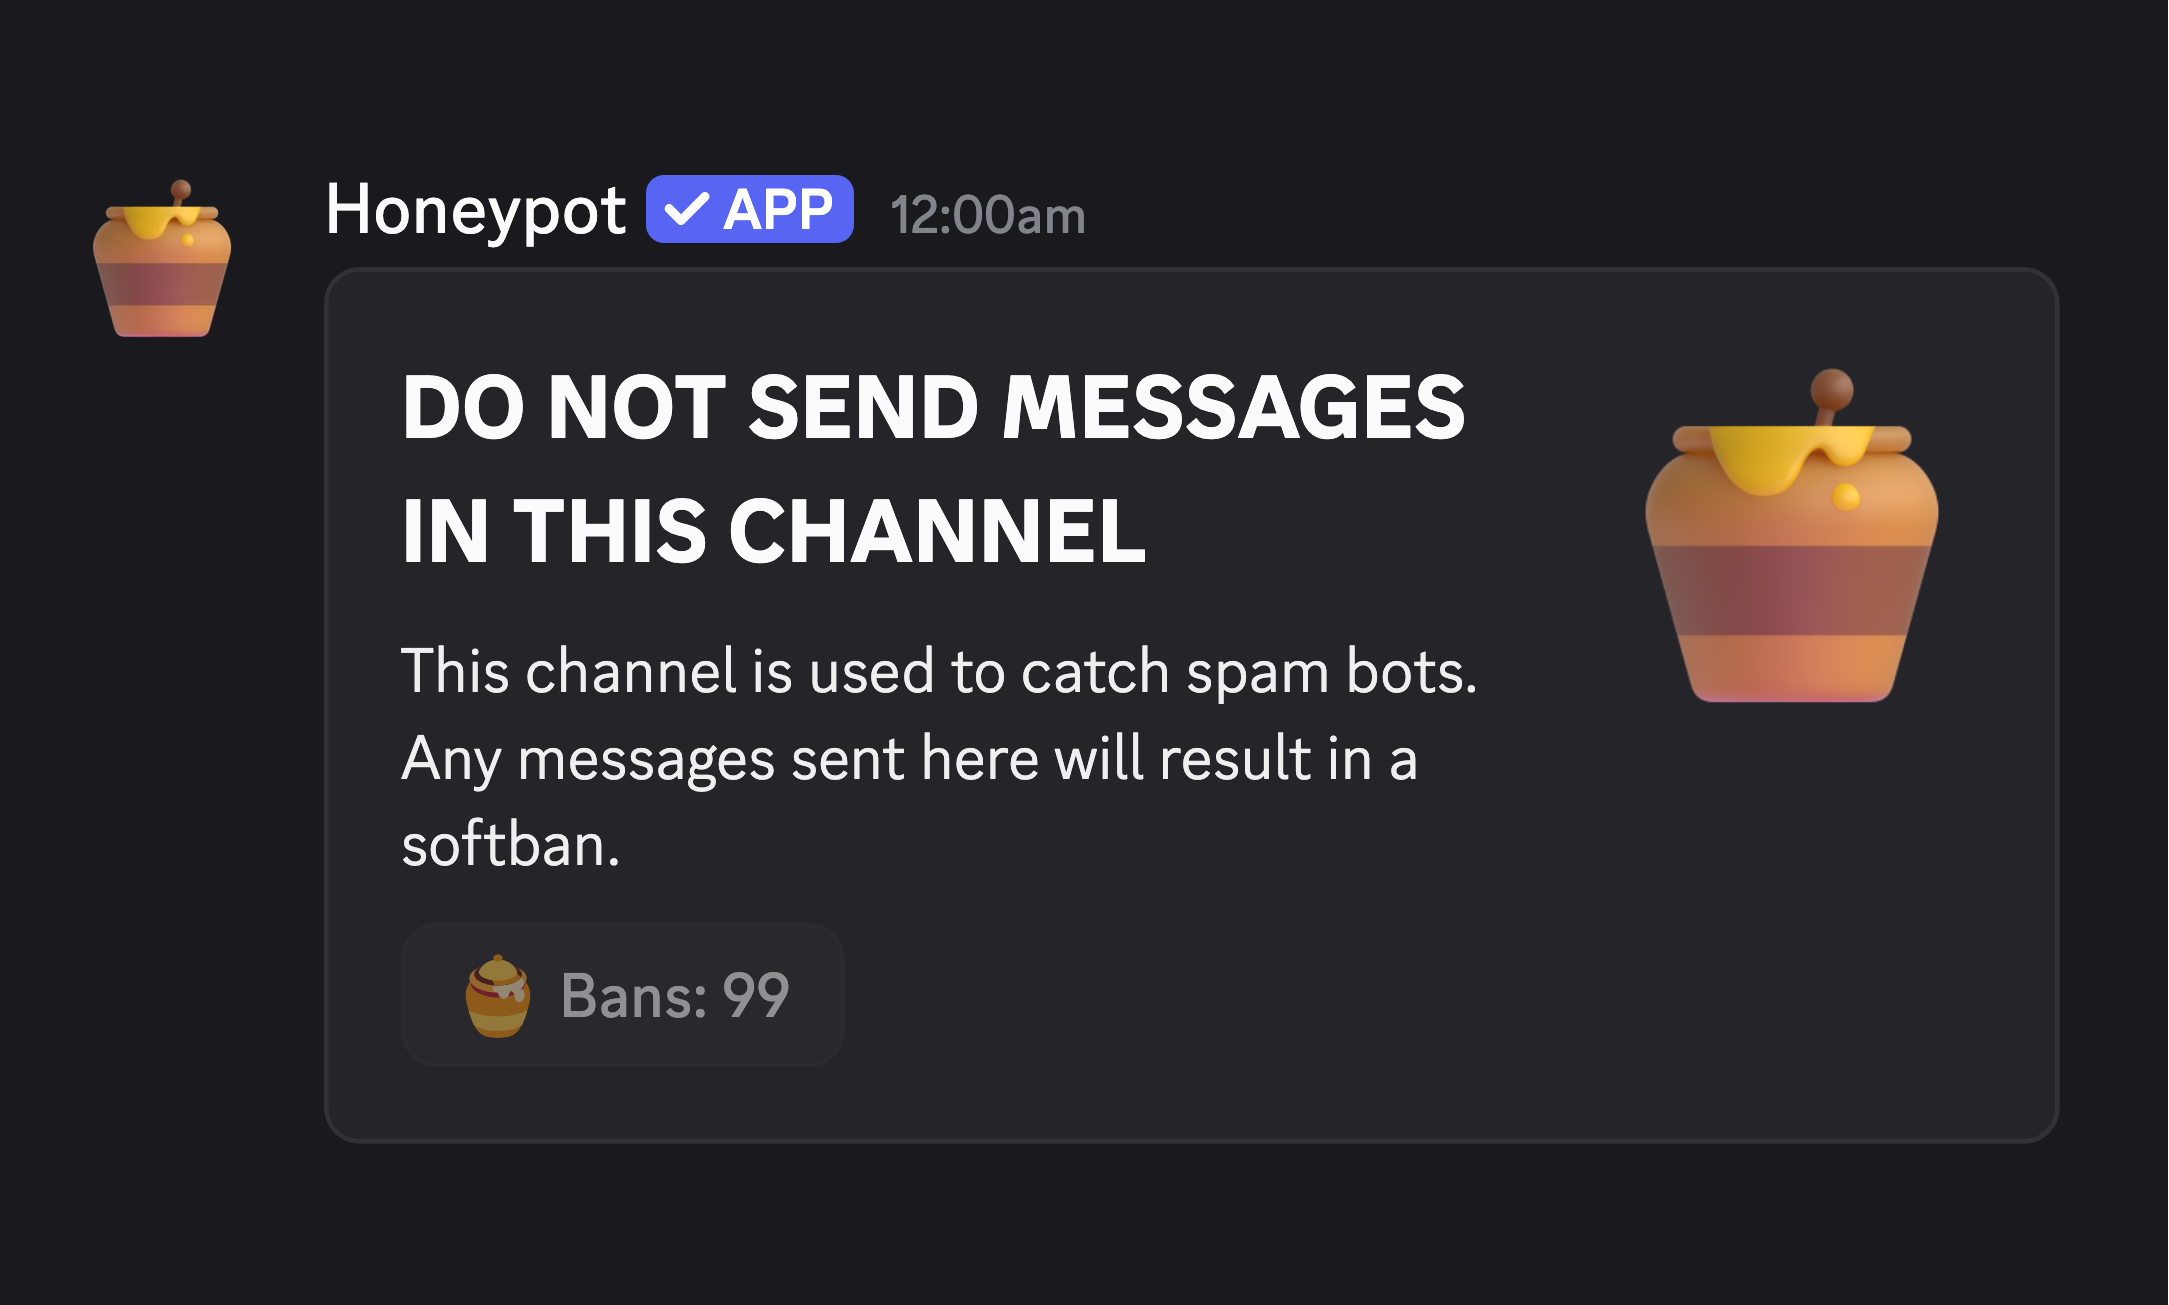
Confirm #honeypot channel
The bot will create a
#honeypot channel if it can. If it cannot, run /honeypot and select the channel manually.4
Pick your action (optional)
Decide whether to softban (kick) or ban users who post in the honeypot channel.
5
Set your log channel (optional)
Select a channel to log actions and errors.
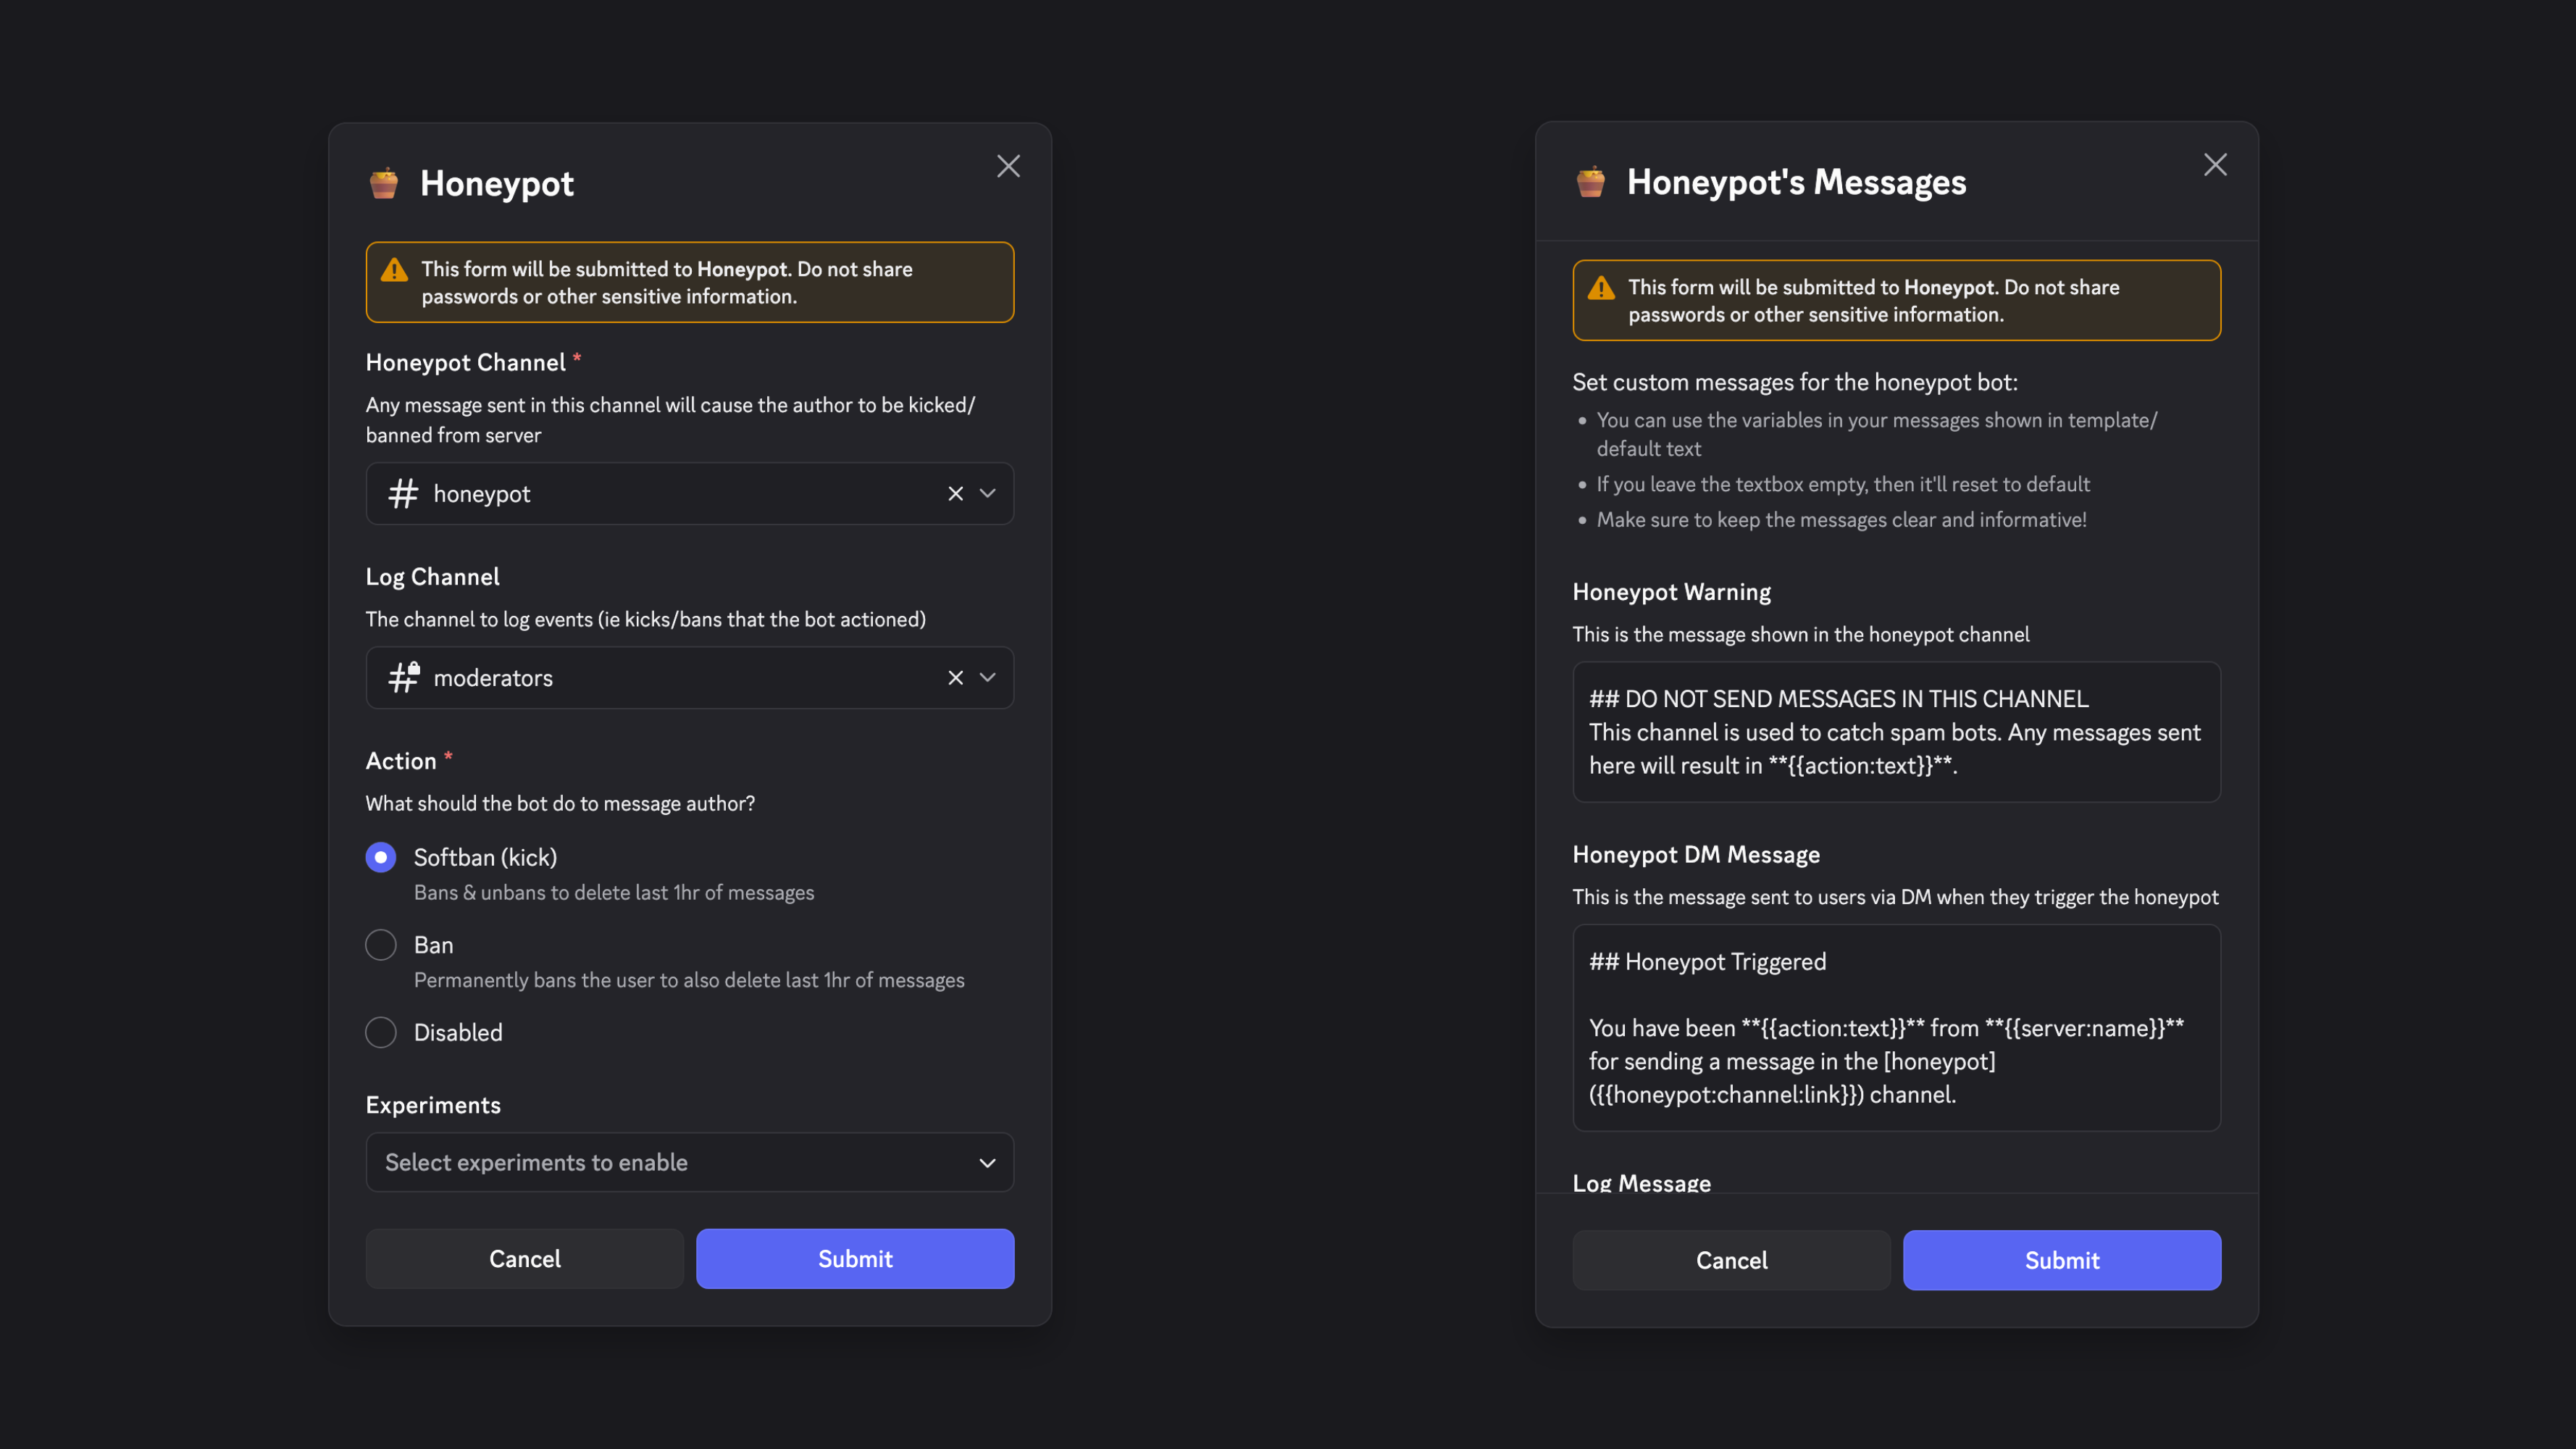
Configure the Bot
Open the configuration modal with /honeypot.
- Pick the honeypot channel (the trap).
- Pick a log channel for actions and errors.
- Select Softban, Ban, or Disabled.
- Enable experiments if you want extra protection.
You can also use /honeypot-messages to customize the warning, DM, and log text.
- Consider adding your server invite to the DM message so legitimate members can rejoin.
- Use message variables to insert dynamic content like user mentions.
Learn more for the full configuration reference
Permissions checklist
Role order
Move the Honeypot role above member roles, or it cannot enforce bans.
- Ban Members enabled at the server level.
- Can view and post in the log channel.
Try out the honeypot with an alt account to see it in action.
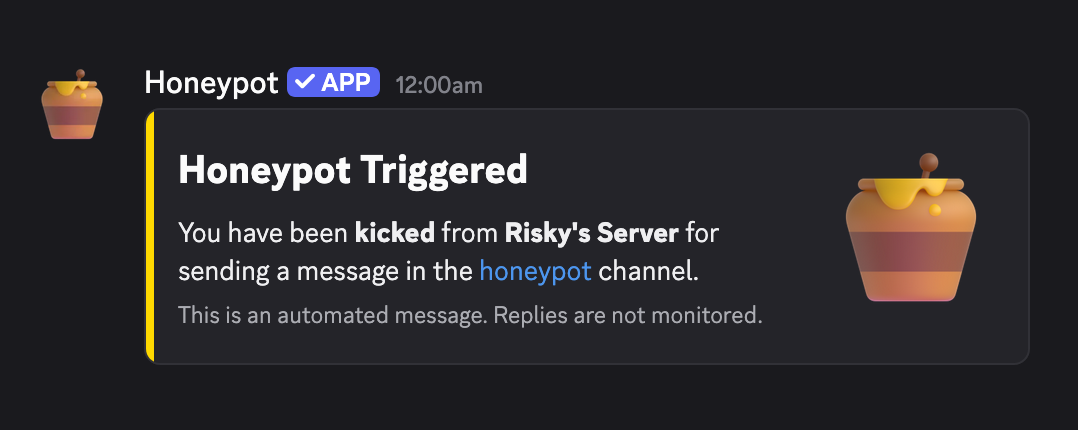
What members see when caught
When someone posts in the honeypot channel, they receive a DM explaining what happened. The bot can also log the action for your moderators.
Next steps
If setup went well, keep exploring: